Set up a TSM Client with Windows
The following installation and set-up of the TSM client was done as an example using Windows 7. The installation using other Windows versions is similar.
Click to enlarge the pictures.
Installation
Installation Client
Download the newest client for your Windows version here. To start the installation, click on the EXE file.
Note: It is recommended that this folder is not deleted after installation since the files are needed to later install additional client components. |
|
Choose the installation language.
Note: The selection is only for the client installation process. For the client, there are separate language packages available (see below). |
|
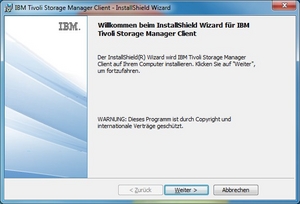
| Installation starts. Click Next. |
|
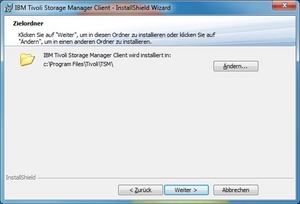
| Choose the directory in which the client is to be installed. It is recommended to use the suggested path. Click Next. |
|
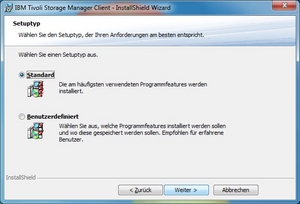
| Select Standard as the setup type and then click Next. |
|
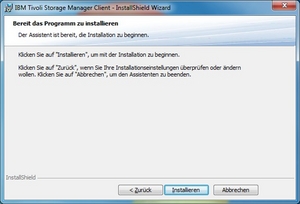
| Now click Install. |
|
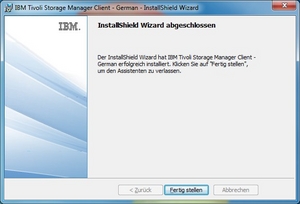
| After all files have been copied, the client has been installed. Click Finish. |
|
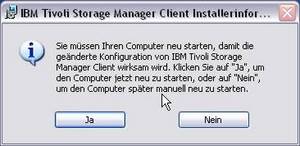
| Windows XP: You may be prompted to restart your computer after installation. It is recommended that you do this before starting the TSM client for the first time. |
|


Installation language package
| Click on the EXE file to start installing the language package. Choose the suggested standard path for temporarily saving the installation files. Click Next. Note: Please do not delete these later. | 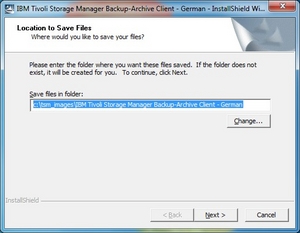 |
| You will be asked for the installation language. Click OK. | 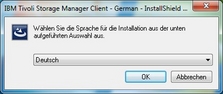 |
| Now the installation will start. Click Next. | 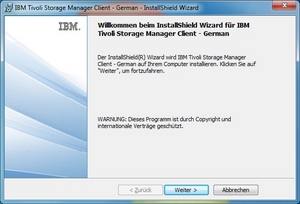 |
| Click Install to start the installation. | 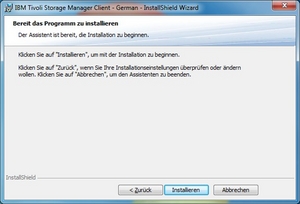 |
When the installation is complete, click Finish. When you then start the client, the language you installed will be automatically available.
|  |
Configuration
Configuration client
| When first starting the TSM client GUI, the wizard to configure the client will appear automatically. Click on Weiter (continue). | 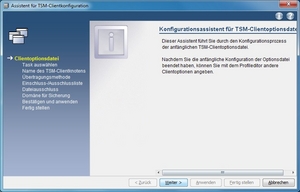 |
| You will be asked whether you want to create a new option file (dsm.opt). Choose Create a new options file and then click on “Weiter” (continue). |  |
| When you’re asked for the node name, enter the name you were given via e-mail. Then click on Weiter (continue). | 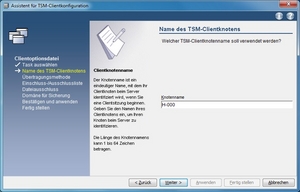 |
| A message from the Windows 7 firewall will appear. Activate the TSM client for each network profile; to do so place both check marks. | 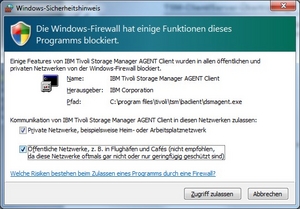 |
| For the communication method, select TCP/IP and then click on Weiter (continue). | 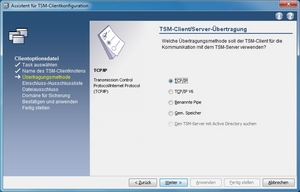 |
| Then enter the TCP/IP address for the TSM server. Please find the server address on which your node has been registered in the e-mail. Click on Weiter (continue). | 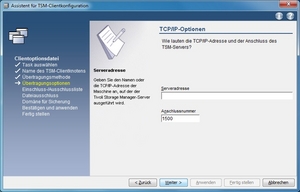 |
| Now you will be asked which directories from backup are to be included or excluded. We recommend you use the default settings. These have already been selected. Click on Weiter (continue). | 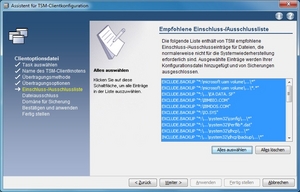 |
| Now you can select the files that should not be backed up out of a list of set file endings. Once you have made your selection, click on Weiter (continue). Note: Some files are automatically excluded from the server’s default settings (e.g. tmp). | 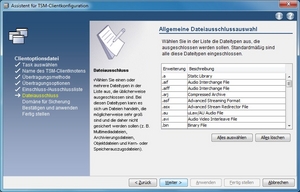 |
Now you can choose which partitions should be backed up. We recommend backing up all local systems. Place a checkmark by Back up all local file systems. Click on Weiter (continue). | 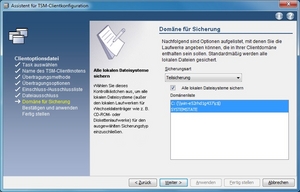 |
| Configuration is complete: to finish, click on “Apply” and then on “Finish”. | 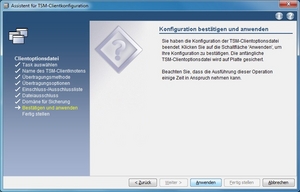 |
Configuration of Scheduler (for automatic back-up)
| If you have registered your computer for automatic back-up, then you still need to install the Client Scheduler on your computer. Open the TSM client GUI and start the Setup Assistant (Dienstprogramme (Programs)->Setup-Assistent (Setup assistant)) | 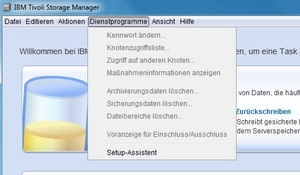 |
| Place a checkmark by TSM Client Scheduler and click on Weiter (continue). | 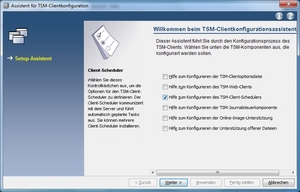 |
| Click on Weiter (continue) to start setting up the scheduler. | 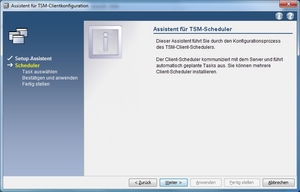 |
| Choose “Neuen oder zusätzlichen Scheduler installieren” (Install new or additional scheduler) and then click on Weiter (continue). | 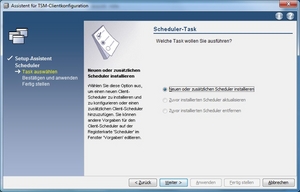 |
| The Client Scheduler is installed as a Windows service on your computer. Choose the name the scheduler should have, e.g. tsmscheduler. Select the option for the scheduler to run on the local machine. Click on Weiter (continue). | 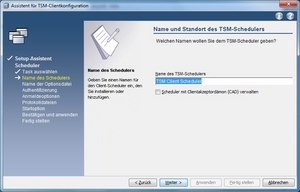 |
| Next, the installer will ask which option file (dsm.opt) it should use. The standard path is already entered, click on Weiter (continue). | 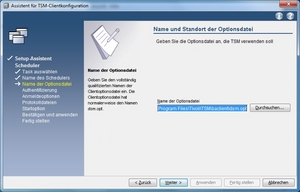 |
| In the following dialog, the node name of your computer is already entered; it was read from the file dsm.opt. Remove the checkmark from “Zur Kennwortprüfung Kontakt mit dem TSM-Server aufnehmen” (Make contact with the TSM server to check password), and then click on Weiter (continue). | 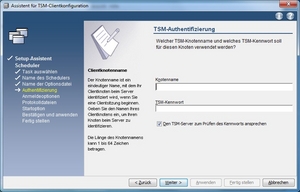 |
| Now you will need to decide whether the scheduler should be automatically started when the system starts up (recommended!). To do so, click on “Automatisch beim Booten von Windows” (Automatically when booting Windows) and then on Weiter (continue). | 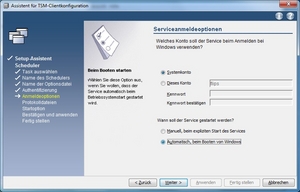 |
| Leave the location of the log files in the standard path, and click on Weiter (continue). | 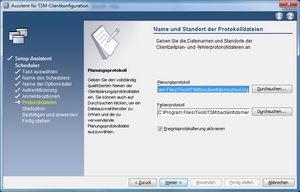 |
| The configuration is now complete, you can choose whether the scheduler should run after closing the set-up assistant (recommended). Click on Weiter (continue). | 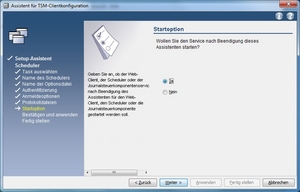 |
| To finish, click on “Apply” and then on “Finish”. | 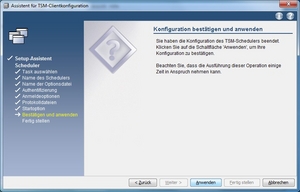 |
Configuration of “Password generieren” (Generate password)
| The TSM password is valid for 90 days. For automatic back-up, we therefore recommend that you allow the password to be automatically generated. The TSM server and client then automatically generate the password and save it in encrypted form on the client computer. Select “Editieren” (Edit) and then view “Clientvorgaben” (Client preferences). | 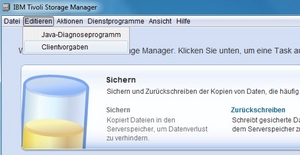 |
| Go to the tab “Berechtigung” (Authorization) and activate the option “Kennwort generieren” (Password generate). With this setting, the password is automatically generated after 90 days. | 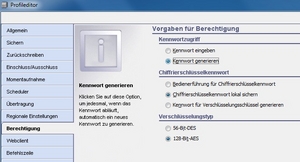 |
Do you have questions or comments about this site? contact form