Set up TSM Client using Mac OS X
The following installation and set-up of the client was done using Mac OS X 10.5 Tiger. The procedure using Mac OS X 10.4 is similar.
Installation
Download the newest client for your Mac OS X version here. Double click on the file TSMBAC-Mac.dmg to mount the installation file. |
|
| Double click on the file Tivoli Storage Manager.mpkg to start installation. |
|
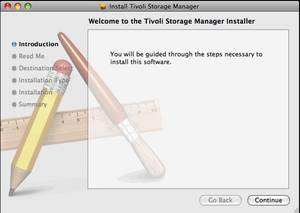
| Installation starts and the welcome screen is shown. |
|
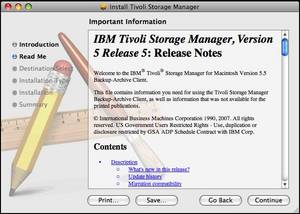
| The Release Notes for the current client are shown. Click on Continue. |
|
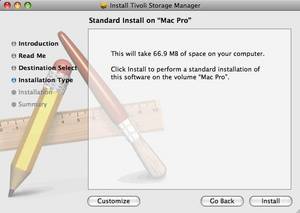
| Then you will be asked about the type of installation. Here, please choose the “Standard” variation. |
|
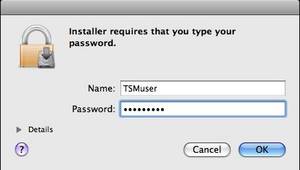
| To install the client, you will be asked to enter a Mac OS X account with root authorization. |
|
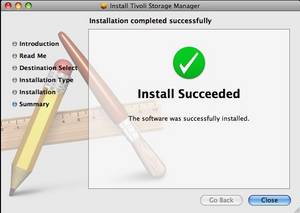
| Installation is now successfully completed. You will then still need to configure the client. |
|

Configuration
| After successfully installing the client, under Applications you will find a new folder Tivoli Storage Manager. In this folder, please click on TSM Tools for Administrators. | 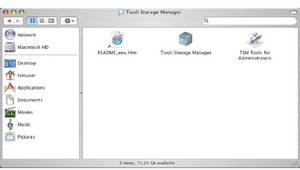 |
| After starting the tool, you will be asked which application you would like to execute with administrator rights. Choose Tivoli Storage Manager and click on OK. | 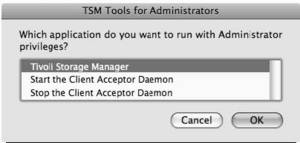 |
To start the client, you will be asked to enter a Mac OS X account with root authorization. | 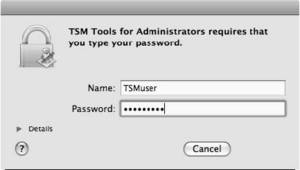 |
| To configure the client, select Create a new options file and then click on Next. | 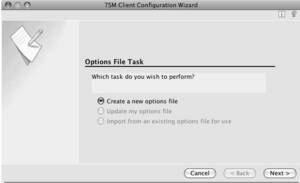 |
| Next, you will need to enter the TSM name (e.g. rustsmb, not the complete DNS name). This information was sent to you via e-mail. Click on Next. | 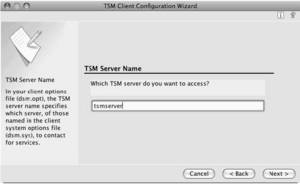 |
| For the communication method, select TCP/IP and click on Next. | 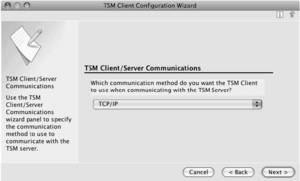 |
| Now enter the full DNS name of the TSM server on which your node was registered. You received this information via e-mail. Leave the TCP port set to 1500. Click on Next. | 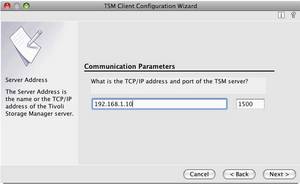 |
| Enter the node name of your computer as it was sent to you via e-mail. Click on Next. | 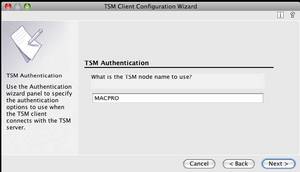 |
| You have now completed the basic configuration of the client. Click on Finish and the client will start. | 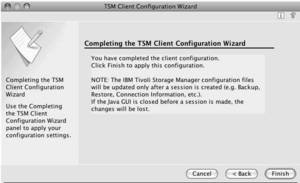 |
| You will now see the graphic version of the TSM client. Click on Edit and then on Client Preferences. | 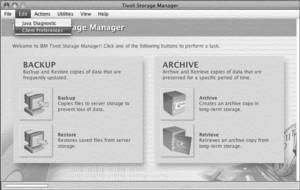 |
| You will be asked for your client password. When logging in for the first time, enter the password you put on your request. After logging in for the first time, the TSM client and server automatically find a new password. This is then saved in encrypted form on your computer. | 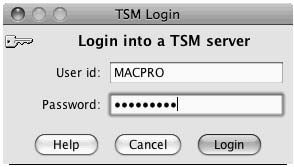 |
| You see the General Options for the client. Leave them as they are. On the left side, click on the point Authorization. | 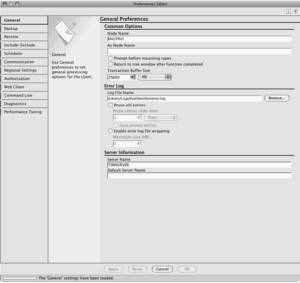 |
So that automated back-up functions smoothly, please set the option Password Access to the value Password Generate. This will save the password for your node in an encrypted form on your computer, and it will be changed automatically every 90 days by the server. You have now completed configuring the client. Note: You will need to log in again as the administrator so that your password is saved. |  |
Setting up the scheduler for automatic back-up
| If you have registered your computer for automated back-up, you will still need to run the scheduler on your computer. This will be responsible for backing up your computer. Open the TSM Tools for Administrators and select Start the Client Acceptor Deamon. Click on OK. | 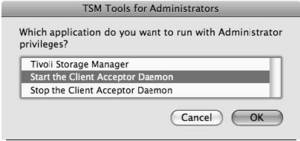 |
| It can take some time for the Client Acceptor Deamon (CAD) to start. Click on OK. |  |
To start the CAD, you will be asked to enter a Mac OS X account with root authorization. |  |
| After the CAD has started successfully, the following message appears. Click on OK. Your computer will now be automatically backed up each day as long as it is turned on and connected to the Hohenheim network. |  |
Do you have questions or comments about this site? contact form